Creating, Modifying, and Viewing Snapshots
To view and modify information about existing snapshots or create snapshots for a file system, perform the following steps.
-
Click the ASM Cluster File System tab on the Oracle ASM home page
-
Click a mount point link in the Mount Point column as shown in Figure 13-2
-
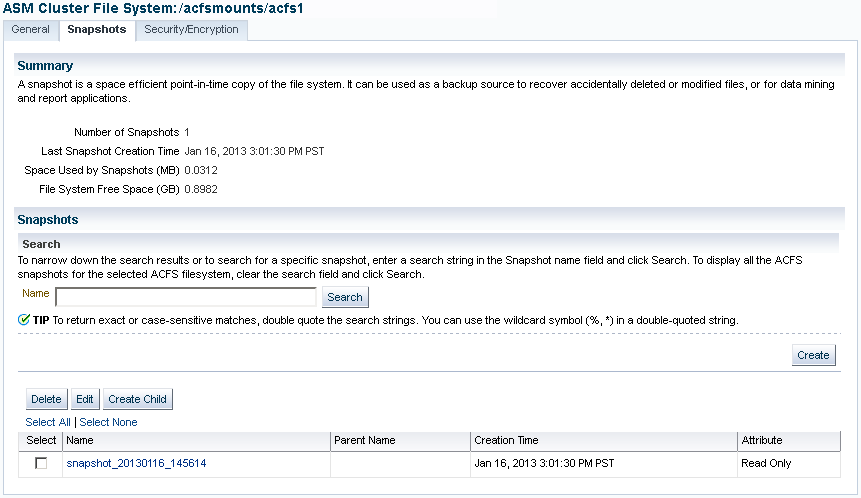
Click the Snapshots tab, shown in Figure 13-5.
Optionally, you can click a number link for existing snapshots in the Snapshots column on the ASM Cluster File System page to display the Snapshots page.
On the Snapshots page, you can create snapshots or search for and display specific snapshots. To search for a snapshot, enter a name with optional wildcard characters in the search field then click Search.
To create a snapshot, perform the following steps.
-
Click Create in the Snapshots page.
Figure 13-6 shows the Create Snapshot page.
-
Complete the information on the page.
Accept the default snapshot name, or provide a name. Optionally, you can choose to delete the oldest snapshot.
-
When you have completed the screen, you can click OK to run the command, or click Show Command to view the generated command.
For example, the following is a generated command for creating a snapshot:
/sbin/acfsutil snap create "snapshot_20090702_142135" /oracle/acfsmounts/acfs1
To run the generated command, you need the appropriate privileges on the host computer. Oracle Enterprise Manager prompts you to enter host credentials if they have not been set up.
You can also open a Telnet session from the Create Snapshot page to manually enter the generated operating system command.
Figure 13-6 Oracle ACFS Create Snapshot Page

Description of "Figure 13-6 Oracle ACFS Create Snapshot Page"
To drill down in a snapshot directory, click the snapshot name in the Snapshots page to display the Search and List Directory page.
